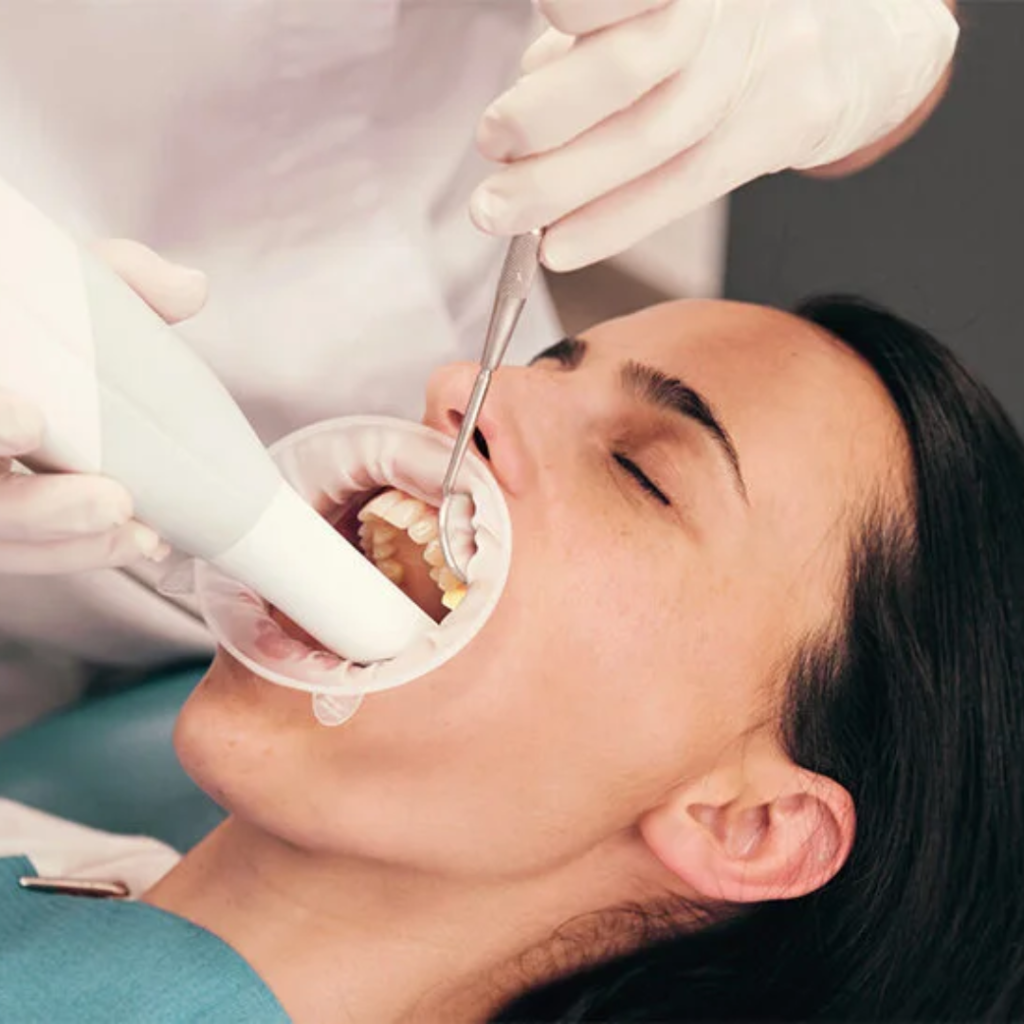
Teeth Cleaning
Many people dread teeth cleanings. Between the prodding, strange noises, and occasional jaw discomfort, it’s easy to understand their apprehension. But for most, a teeth cleaning is simple and painless.
1. A physical exam
Most teeth cleanings are performed by a dental hygienist. Before the actual cleaning process begins, they start with a physical exam of your entire mouth.
The dental hygienist uses a small mirror to check around your teeth and gums for any signs of gingivitis (inflamed gums) or other potential concerns.
If they detect major problems, the dental hygienist might call the dentist to make sure it’s fine to proceed.
2. Removing plaque and tartar
With the small mirror to guide them, the dental hygienist uses a scaler to get rid of plaque and tartar around your gum line, as well as in between your teeth. You’ll hear scraping, but this is normal. The more tartar there is in your mouth, the more time they’ll need to scrape a particular spot.
Brushing and flossing stops plaque from building up and hardening into tartar. Once you have tartar, you can only have it removed at your dentist’s office. So if this is your least favorite part of the teeth cleaning process, the lesson is to brush and floss more often.
3. Gritty toothpaste cleaning
After your teeth are completely tartar-free, the hygienist brushes them with a high-powered electric brush, which makes a grinding noise. While it sounds scary, it’s a great way to get a deep clean and remove any tartar left behind from the scaler.
Professional cleanings use toothpaste that smells and tastes like regular toothpaste, though you can often choose between flavors. However, it has a gritty consistency that gently scrubs your teeth. If done by a professional, this polishing of the teeth is deemed safe to do twice a year. But don’t be as harsh with your teeth at home, because you’ll wear down the enamel.
4. Expert flossing
Whether you floss regularly at home or not, nothing beats an expert flossing session. Your dental hygienist can get deep between your teeth and locate any potential trouble spots where you might bleed at the gums.
This might seem pointless if you floss at home, but having a professional floss your teeth also removes any leftover plaque or toothpaste from earlier in the cleaning process.
5. Rinsing
Next, you rinse out your mouth to get rid of any debris. Your dental hygienist will usually give you a rinse that contains liquid fluoride.
This might seem pointless if you floss at home, but having a professional floss your teeth also removes any leftover plaque or toothpaste from earlier in the cleaning process.
6. Applying fluoride treatment
The last step of the cleaning process is a fluoride treatment. This treatment is used as a protectant for your teeth to help fight against cavities for several months.
Your dental hygienist may ask you what flavor you like best. They’ll then place the foamy gel (or sometimes a sticky paste) into a mouthpiece that fits over your teeth. It’s usually left on your teeth for one minute. Besides the foamy gel, fluoride varnish is also painted onto the teeth with a small brush. Fluoride varnish will harden when in contact with saliva, so you can eat and drink immediately after.
